Submitted by Telak on Mon, 12/22/2008 - 14:19
This Deck was build by Jeremy Commandeur and was published first on "The Continuing Committee (trekcc.org)" at Dec 8th, 2008.
Ferengi Cargo Run
Deck listing:
|
| ||||||||||||||||||||||||||||||||||||||||||||||||||||||||||||||||||||||||||||||||||||||||||||||||||||||||||||||||||||||||||||||||||||||||||||||||||||||||
Seed cards (11):
| Q's Tent Side Deck (13):
| ||||||||||||||||||||||||||||||||||||||||||||||||||||||||||||||||||||||||||||||||||||||||||||||||||||||||||||||||||||||||||||||||||||||||||||||||||||||||
Draw deck (52):
| |||||||||||||||||||||||||||||||||||||||||||||||||||||||||||||||||||||||||||||||||||||||||||||||||||||||||||||||||||||||||||||||||||||||||||||||||||||||||


Hints & strategie notes for this Deck
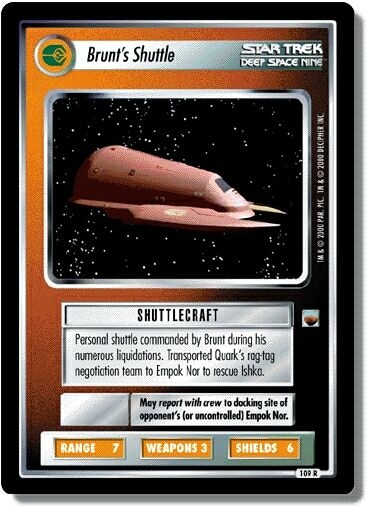
This is a fairly complex deck and will take some practice to master. The basic function of the deck is to use cargo runs to draw a bunch of cards and then use Brunt's Shuttle to report multiple crews.
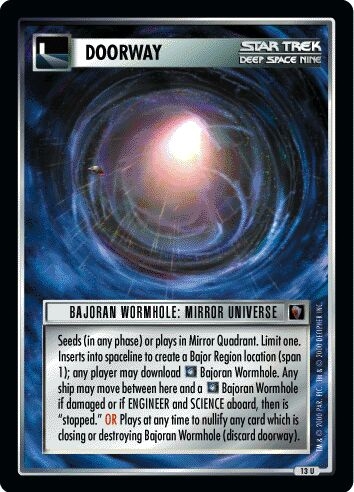
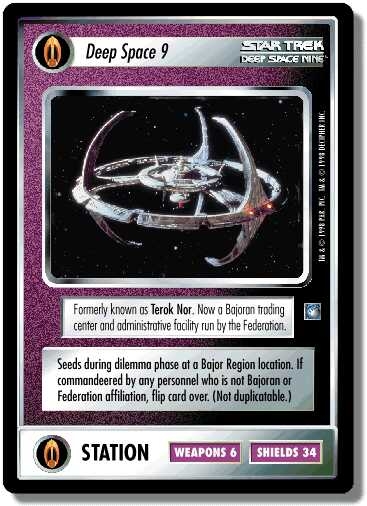
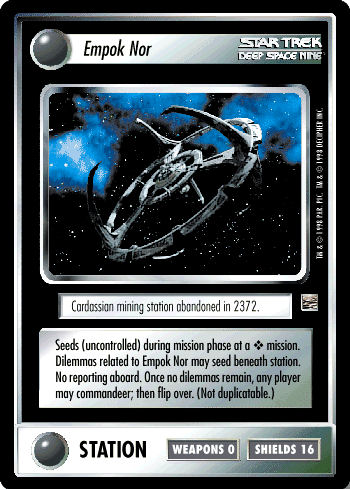
The key to getting the deck to work is playing smart in the seed phase to set up easy cargo runs. All of the missions have only one or two span. The deck uses four facilities. The facilities should be arranged so that the Nor and Deep Space Nine are several low span missions apart. Deep Space Nine should be seeded at the Bajoran Wormhole (1 span) to maximize the cards drawn with a cargo run. Keep in mind that the Mirror Bajoran Wormhole can be seeded in any phase, allowing the position of the Bajor Region (and thus Deep Space Nine) to be controlled. Care must be taken because each of the facilities can only seed at two appropriate missions. Because Empok Nor seeds during the mission phase, the deck requires the player to plan out where each of the facilities is going to seed as soon as the spaceline is completed.
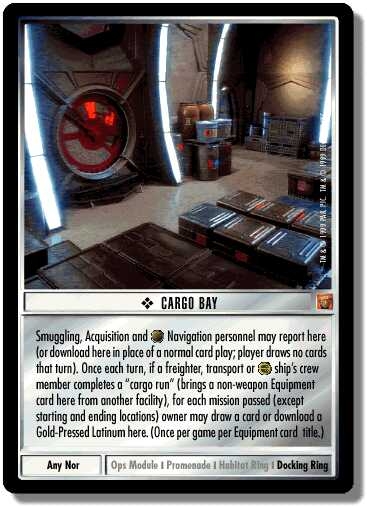
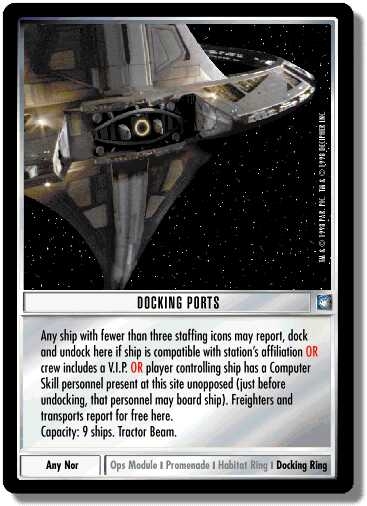
One Docking Ports seeds on Empok Nor (just for reporting Brunt's Shuttle). One Cargo Bay and one Docking Ports seed on the Nor. Deep Space Nine gets Quark's Bar, a Docking Ports and a Cargo Bay.
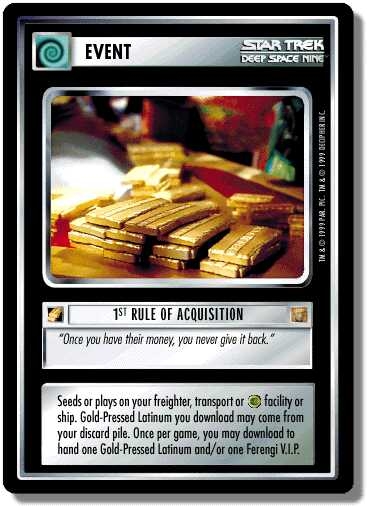
The 1st Rule of Acquisition is in the deck to get Gint and a latinum. It is best to report the latinum as part of the crew with the first Brunt's Shuttle drop. The plan is to report Brunt's Shuttle with crew to the uncontrolled Empok Nor every turn, or every other turn until there are enough personnel out to attempt missions.
In addition to drawing cards with cargo runs, extra cards can be drawn for having Morn at Quark's Bar (Morn can be downloaded with the Cargo Bay), or with the 34th Rule of Acquisition (War is Good for Business). Gint can download the 34th Rule and then attack the uncontrolled Empok Nor to draw two additional cards each turn. Gint is also a VIP, allowing his ship to dock at the Nor.
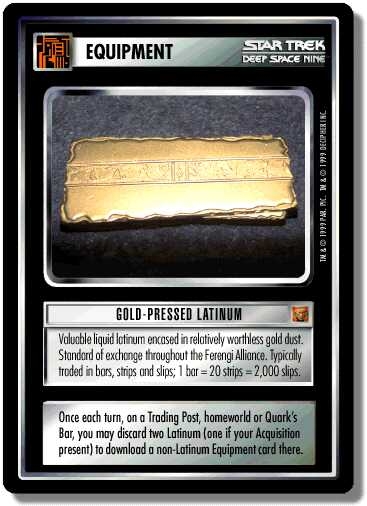
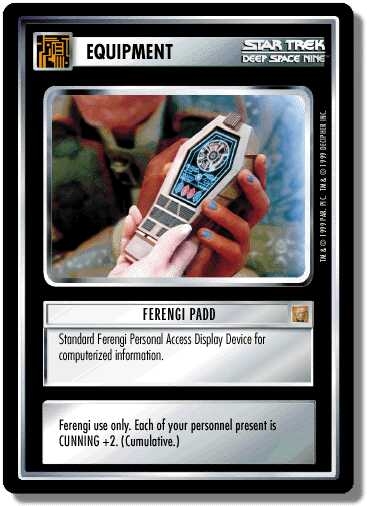
The deck has plenty of equipment to cargo run with. A Gold-Pressed Latinum should be cashed in as soon as possible to download Plasmadyne Relay for extra Range. Kassidy Yates is there to help draw extra cards. The deck works fine without her; she is just an enhancement.
The average turn should go something like this:
- Report Brunt's Shuttle to Empok Nor with about four folks aboard. Keep in mind that the "report with crew" action gets around quadrant restrictions, so playing Delta Quadrant personnel is no problem.
- Complete a cargo run for at least two draws.
- Attack the uncontrolled Empok Nor to draw two cards with War Is Good for Business.
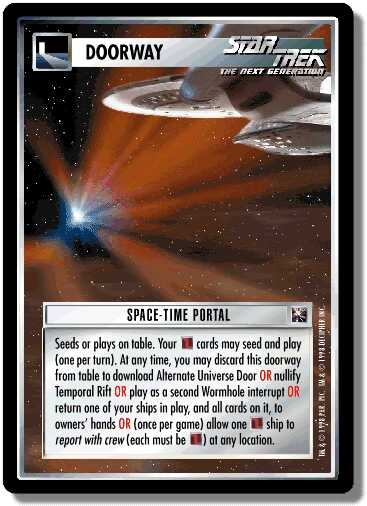
- Use Space-Time Portal to return Brunt's Shuttle to hand. Nanoprobe the Space-Time Portal back if it was the only one in play.
Missions were chosen for their span and for playing facilities. To solve the missions that don't have a Ferengi icon, Bribery or Kira (who should be reported via the Temporal Micro-Wormhole) can be used. Kira is important to the deck; thus Emergency Transport Unit is in the deck to help keep her alive.
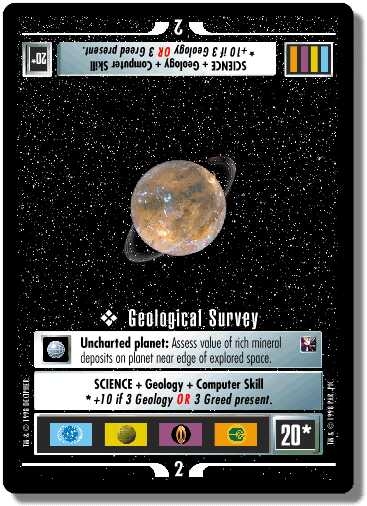
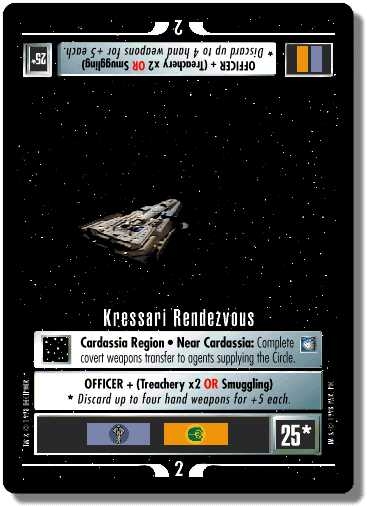
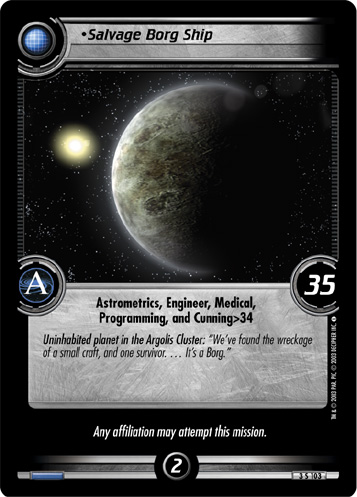
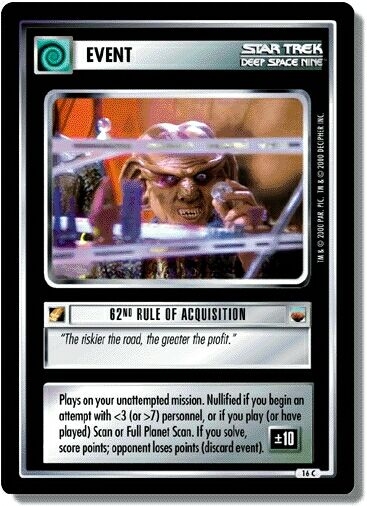
The plan would be to solve a 35 point planet followed by Kressari Rendezvous for another 35 points (with the hand weapons). Dabo and the 62nd Rule of Acquisition are included to score extra points. With a little luck, the deck may have to solve only two missions to win.